
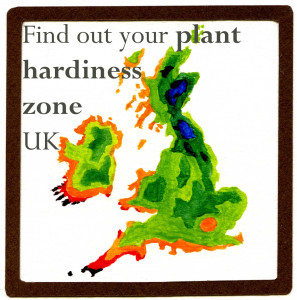
 Resources


Inside every pea
This was a lesson I gave for 30 pupils, split into groups of three.
Ideally this lesson will take place in the autumn or spring term when the weather is suitable for growing peas.
Year Group: Suitable for all primary age but tailor the writing task accordingly
Group 1
Looking inside a pea.
You will need:
Print off the attached worksheet below
Print out the guide to the correct labelling (image above)
Coloured card scissors and glue (if you are using collage)
Coloured pens or pencils
- ask the pupils draw the inside of a pea.
- You can use collage to cut out the separate parts.
- Label your diagram.
Group 2
Planting peas in your garden.
You will need: Pea seeds (note the correct time of year for outside planting) Plant labels Permanent marker pen Watering can An area of soil weeded and raked flatAsk the pupils to make holes using their fingers into the soil
- When all of the holes have been made then drop one seed into each hole
- Cover the seeds over with soil
- Write labels with the type of pea and the days date and mark where they have been planted
- Water the seeds using a watering can with a rose so as to not wash the seeds away
- Watch over the forthcoming weeks and write a diary of its progress
Group 3
Planting peas to grow at home or in the classroom.
Pupils can grow these seeds into pea shoots to eat.
You will need: Small plant pots Potting compost Wooden pegs Black pensPea seeds. Buy a large bag of dried peas from a supermarket or grocers as this is much cheaper. Any variety, such as white peas or chickpeas, but not split peas.
- Fill the pots with potting compost ¾ of the way to the top of the pot.
- Sprinkle the dried peas onto the potting compost. You can count 10 or so peas per pot depending on how many seeds you have to go around. The seeds are happy to be fairly crowded.
- Cover the seeds with more potting compost to the top of the pot. Do not push the soil down
- Label each pot with a wooden peg and clip onto the side of the pot
- Water your pot and make sure pupils know to keep the soil moist but not soggy at all times.
- The pupils can take the pots home to look after or stand in a tray in the classroom. When the shoots have grown to 4- 5 inches tall they should be cut off with scissors just above the soil. Eat on their own or add to sandwiches or salads. They are really delicious. If you are lucky a second crop may grow too!
Inside every Pea.
Label your pea:
Plumule will grow into the shoots
Hypocotyl will grow into the stem
Seed coat protects the seed
Radicle will grow into the seed root
Cotyledons are the seed leaves (not true leaves)


Keep in touch